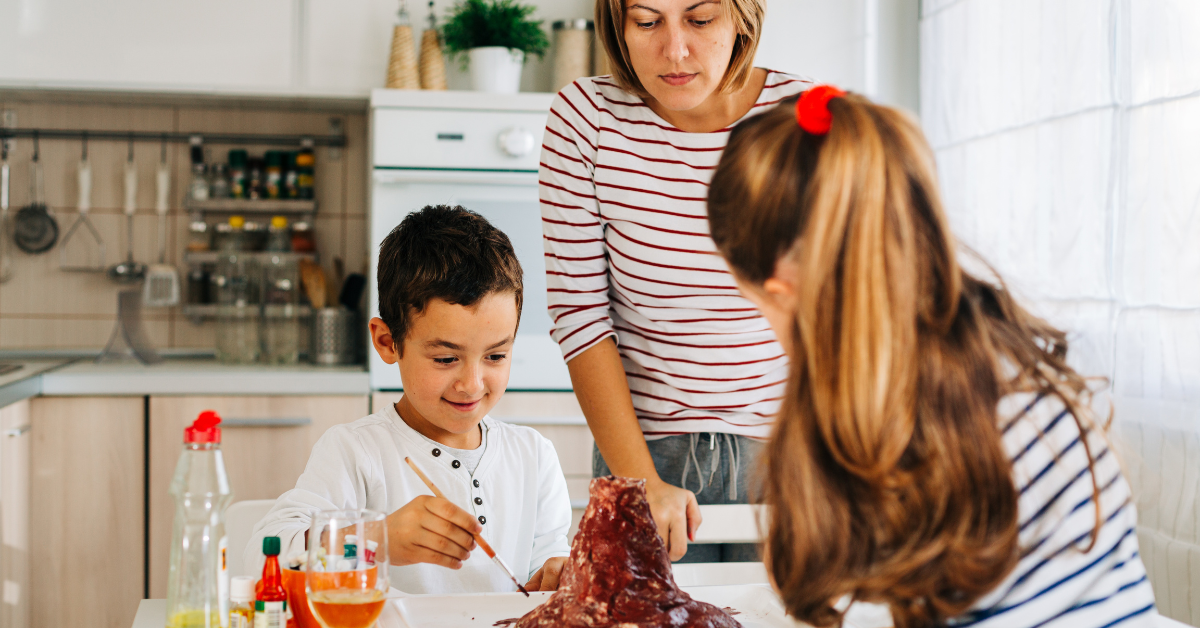
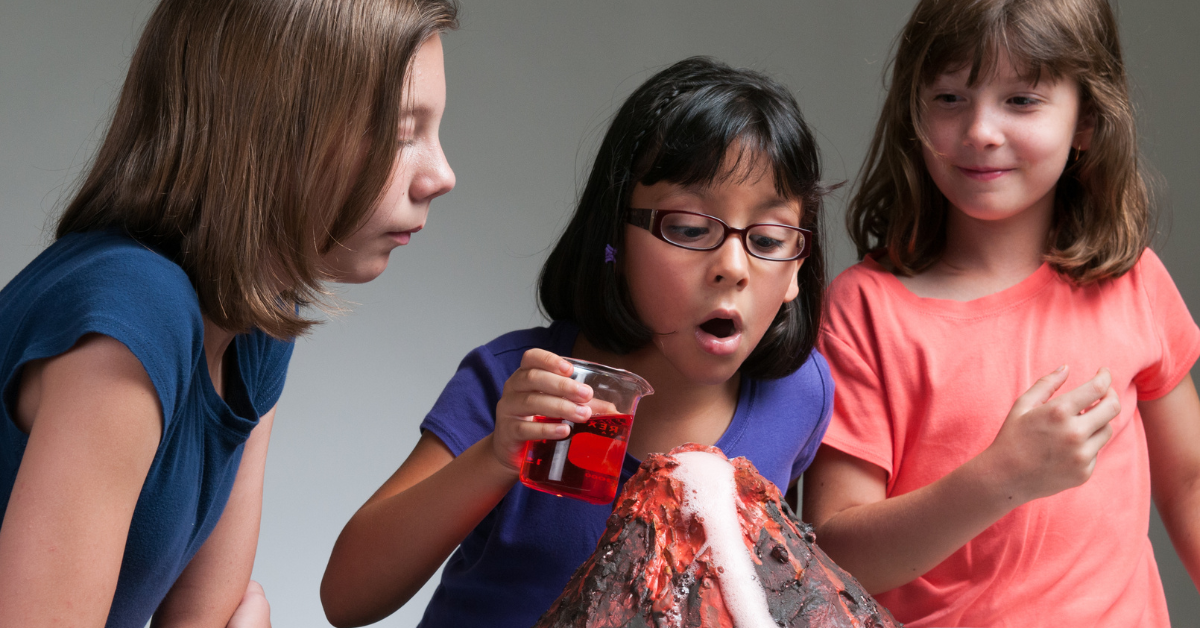
Making a DIY volcano science experiment is a classic and exciting activity that brings science to life for homeschooled students. It’s simple to set up, budget-friendly, and teaches key concepts like chemical reactions, geology, and the scientific method. This hands-on project is suitable for kids across a wide range of ages and is guaranteed to spark curiosity about the natural world.
Below, we’ll guide you through creating your own volcano at home, offer tips for incorporating this activity into lessons, and share ideas for taking the experiment to the next level.
The Materials You’ll Need
Before you can start the DIY volcano science experiment, you’ll need to gather your materials. The good news is that most of these items are common household products, making this project affordable and easy to pull together on short notice. Here’s what you’ll need:
- For the Volcano Structure:
-
- A small plastic bottle (like an empty water bottle)
-
- Modeling clay, playdough, or aluminum foil
-
- A tray, plate, or a wide sheet of cardboard for holding the volcano
-
- Optional: Paints or markers for decorating
- For the Eruption:
-
- Baking soda (sodium bicarbonate)
-
- Vinegar (you’ll need a generous amount)
-
- Dish soap (optional but adds frothiness)
-
- Red or orange food coloring for lava effect
Having your materials prepped ahead of time ensures a smoother and more enjoyable experience.
Safety Tip
While this DIY volcano science experiment is safe for kids, it’s always a good idea to supervise younger children closely. Consider working on this project in an outdoor space to avoid spills and messes indoors.
Step-By-Step Instructions
Homeschool science should feel approachable and interactive, and this volcano project is no exception. Follow these steps to create your first at-home eruption:
Step 1: Build the Volcano Structure
- Place the plastic bottle upright in the center of your tray or cardboard base.
- Use modeling clay, playdough, or aluminum foil to mold a volcano-shaped mountain around the bottle. It should look like a cone with the bottle opening serving as the “volcanic vent.” Make sure the bottle stays exposed at the top so you can add ingredients.
Tip: If you’re using paints, decorate the outside of the volcano to make it more realistic. Kids can get creative by adding cracks, rocks, and colors like brown, black, or green for vegetation.
Step 2: Prepare the Lava
- Add a few drops of dish soap into the plastic bottle to make the eruption foamier.
- Include a few drops of red or orange food coloring to mimic lava.
Step 3: Trigger the Eruption
- Place a tablespoon of baking soda into the bottle.
- Pour about 1 cup of vinegar into the bottle and watch as your volcano erupts!
This process creates a fun and dramatic eruption as the vinegar (an acid) reacts with the baking soda (a base), forming water and carbon dioxide gas. The dish soap adds froth, while the food coloring makes the “lava” more vibrant and eye-catching.

Ways to Extend the Lesson
This DIY volcano science experiment is not just about the fun of an eruption—it’s a golden opportunity to teach your kids science concepts and critical thinking. Here are a few ways to make the most of your activity:
Discuss the Science Behind It
- Explain the chemical reaction of acids and bases. This can be a great introduction to chemistry.
- Compare your DIY eruption to real-life volcanic eruptions. Highlight the difference between effusive eruptions (slow flow of lava) and explosive eruptions (formation of ash clouds).
Experiment with Variations
Encourage kids to think like scientists by changing aspects of the experiment and observing the results. For example:
- Add more baking soda or vinegar: Observe how this affects the size or duration of the eruption.
- Try different shapes for your volcano: Does a steeper cone make the eruption shoot higher?
- Use warm vinegar: See if temperature changes the speed of the reaction.
Keep track of your findings together and introduce simple data recording methods, like making charts.
Create a Volcano Research Project
Older students might enjoy researching real-world volcanoes and presenting a mini-report alongside the experiment. Possible topics include:
- The most famous volcanoes in history.
- The role of volcanoes in shaping the Earth’s geography.
- How scientists predict volcanic eruptions today.
This ties together geology, history, and even geography into one dynamic learning experience.
Troubleshooting Common Challenges
Every experiment has its hiccups, but troubleshooting is part of the learning process! If you encounter issues, here are quick fixes:
- The Eruption is Weak: Make sure you’re using enough baking soda and vinegar. For more foam, increase the amounts slightly. Check that dish soap is added for froth.
- The Volcano Collapses: If your kids’ model slumps or falls apart, use a stronger base like cardboard and ensure the materials aren’t too soft. Aluminum foil can provide extra support underneath clay or playdough.
- It’s Too Messy: Conduct the activity outdoors, or place the volcano on a tray with raised edges to contain spills.
Encouraging kids to problem-solve and adjust their methods builds resilience and enhances critical thinking—a key benefit of homeschool science projects.
Why Science Experiments Like This Matter
Hands-on projects like the DIY volcano science experiment are essential to nurturing curiosity and a love for discovery. Science comes alive when kids can see, touch, and interact with concepts that are often abstract in books. Take chemistry, for example. A textbook may explain how chemical reactions work, but performing a visible and exciting reaction, such as a foaming volcano, helps kids understand and internalize the concept.
This activity also supports broader learning objectives like teamwork, creativity, and fine motor skills. Working on the volcano structure requires sculpting, while recording observations introduces basic data collection. The added element of creating their own designs also taps into kids’ artistic abilities. Learning at home doesn’t have to mean sacrificing interactive, hands-on opportunities. Building and erupting a volcano brings all the excitement of the lab into your living room—or backyard.
Additional Science Activity Ideas
If your kids loved this experiment, there are plenty of other simple, engaging science projects to try. Here are some ideas to expand your homeschool activity roster:
- DIY Lava Lamps: Teach density with a fun demonstration using oil, water, and food coloring.
- Slime Making: Explore polymers by creating stretchy, gooey slime.
- Rainbow in a Jar: Layer different liquids of varying densities to create a colorful rainbow effect.
- Plant Growth Observation: Teach biology by planting seeds and tracking their growth over time.
Each of these projects uses everyday materials and makes science both accessible and enjoyable for children.
The DIY volcano science experiment is much more than a fun homeschool activity. It’s an opportunity to make science an exciting, memorable part of your child’s education. From learning about chemical reactions to discussing geology to experimenting with variations, this project offers endless possibilities for engaging your little learners.
When homeschooling, it’s important to incorporate activities that blend education with hands-on, joyful experiences. This volcano experiment does just that while teaching your kids scientific concepts and reinforcing the value of exploration. Don’t be surprised if, after this, your kids are eager for their next science adventure!


