When it comes to homeschooling, finding ways to keep lessons engaging and interactive can feel like a challenge. Play-Doh, a simple and versatile tool, can transform your learning space by encouraging hands-on exploration and creativity. Whether you’re teaching math, science, language arts, or even social studies, incorporating Play-Doh into your activities makes it easier for kids to grasp concepts while having fun.
This post will explore Play-Doh learning activities that foster problem-solving, fine motor skills, and active engagement.
Why Choose Play-Doh As A Learning Tool?
Play-Doh isn’t just about rolling out colorful shapes—it’s a powerful tool for hands-on education. Children inherently love tactile learning, where they manipulate objects to understand new concepts. Play-Doh provides a safe, reusable material that’s perfect for promoting creative problem-solving and critical thinking. Plus, it fits seamlessly into a wide range of subjects.
Here are some reasons why Play-Doh stands out as an ideal homeschool resource:
- Affordable and accessible: Play-Doh is cost-effective and widely available.
- Reusable material: Unlike workbooks or printouts, Play-Doh can be used repeatedly for various lessons.
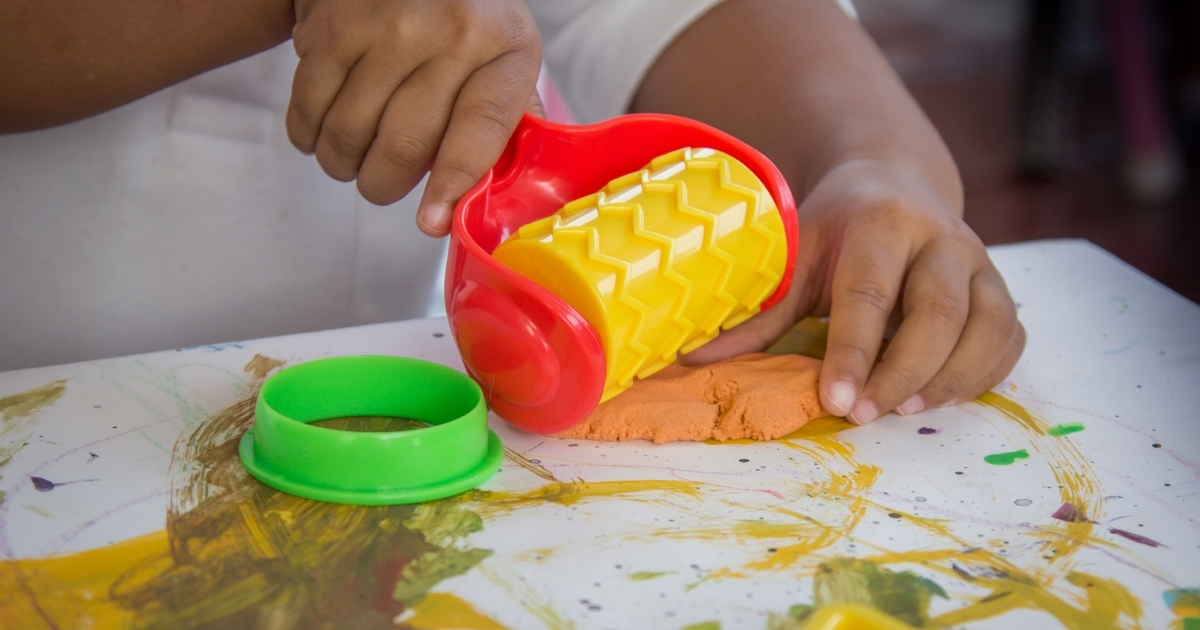
- Strengthens fine motor skills: Pressing, molding, and rolling Play-Doh helps develop hand muscles, preparing young learners for writing and other tasks.
- Engages multiple senses: Kids learn best when multiple senses are engaged. Play-Doh involves touch, sight, and sometimes even smell (with DIY scented Play-Doh!).
Now, let’s explore practical ways to incorporate it across different homeschooling subjects.
Creative Play-Doh Learning Activities For Key Subjects
Math Made Fun
Mathematics often becomes a stumbling block for many young learners, but Play-Doh transforms dull calculations into enjoyable activities. Here are some math-related Play-Doh ideas:
- Number recognition and counting: Roll out Play-Doh into small balls to demonstrate counting. For instance, if learning numbers 1 through 10, kids can group and count the balls accordingly.
- Shape identification: Create basic geometrical shapes like circles, triangles, and squares to teach shape recognition. Flatten the shapes to discuss sides and angles.
- Addition and subtraction: Use Play-Doh pieces to illustrate basic addition or subtraction problems. For example, combine three pieces with two more to visually represent 3 + 2.
- Fractions and division: Make a pizza slice out of rolled-out Play-Doh and cut it into halves, quarters, etc. This helps kids understand concepts like ½ or ¼.
- Measurement and comparison: Create worms or lines of different lengths and ask kids to compare which is longest or shortest.
These activities don’t just teach math—they help kids see how numbers live in the physical world around them.

Language Arts With a Creative Twist
Play-Doh and language arts might seem like an unusual combination, but this dynamic duo can significantly enhance literacy skills. These activities allow children to engage with words and letters in a tactile way:
- Letter formation: Kids can roll Play-Doh into “snakes” and form letters of the alphabet, reinforcing recognition and creating a fun precursor to handwriting.
- Spelling practice: Challenge your child to spell out simple words using Play-Doh letters. Reinforce their understanding by sounding out each word together.
- Storytelling prompts: Encourage imaginative storytelling by sculpting a few objects or characters (e.g., animals, cars, or trees) and asking your child to create a story about them.
- Rhyming words: Shape objects out of Play-Doh and identify rhymes associated with them. For example, make a “cat” and think of words like “hat” and “bat.”
- Punctuation practice: Create punctuation marks (like question marks or commas) and discuss their different roles in sentences.
These hands-on activities promote early literacy while making language arts a memorable subject.
Science Experiments and Explorations
Science opens the door to discovery, and Play-Doh makes experiments even more exciting. Here are ways to use Play-Doh for scientific learning:
- Human anatomy models: Mold out body parts like a heart or a brain while learning anatomy alongside your little learner.
- Life cycles: Create a visual representation of a life cycle, such as a butterfly’s transformation from caterpillar to chrysalis to adult stage.
- Ecosystems and habitats: Build miniature models of ecosystems, such as forests or deserts, to discuss topics like plant and animal adaptations.
- Gravity experiments: Roll Play-Doh into balls of varying sizes and drop them from different heights. Discuss how size and weight influence the speed at which they fall.
- Stem building projects: Challenge kids to design and build structures or bridges out of Play-Doh. This combines engineering concepts with problem-solving skills.
Through these activities, kids not only have fun but also gain a solid understanding of scientific concepts.
Incorporating Play-Doh In Creative Arts And History
Integrating Play-Doh into art and history lessons opens up endless possibilities. These two subjects often involve storytelling and expression, and Play-Doh serves as an excellent medium for both.
For art, encourage children to mix colors by blending Play-Doh and discussing primary and secondary hues. They can even recreate famous artworks like van Gogh’s swirling skies in Starry Night. During history lessons, Play-Doh helps bring ancient cultures to life. For example:
- Sculpt ancient landmarks like the Egyptian pyramids or the Great Wall of China.
- Create claymation-style dioramas to retell historical events.
Rather than depending on textbooks, Play-Doh makes abstract lessons tangible and meaningful, increasing retention and sparking curiosity.
Practical Tips For Using Play-Doh In Your Homeschool
For busy homeschooling parents, here are some tips to make Play-Doh an effective teaching tool:
- Storage solutions: Keep your Play-Doh fresh by storing it in airtight containers. Label containers by color to reduce confusion.
- Set clear boundaries: Define “Play-Doh time” to avoid messes spilling over into other parts of your day.
- DIY recipes: If you prefer homemade options, make your Play-Doh using flour, water, salt, and food coloring. This can double as a science or cooking lesson!
- Create learning bins: Assemble specific bins for each subject with tools like cookie cutters, rolling pins, and shape molds to go along with your lessons.
- Focus on multi-sensory learning: Pair Play-Doh activities with songs, videos, or books to enrich each lesson.
By planning ahead, you’ll maximize the benefits without stress or frustration.
The Non-Tangible Benefits Of Play-Doh In Homeschooling
Beyond structured lessons, Play-Doh provides developmental benefits that parents and educators value deeply. Because it’s a hands-on medium, children develop problem-solving skills while working on open-ended projects. They can experiment, make mistakes, and try again—building resilience and patience.
Additionally, incorporating Play-Doh fosters creativity. Children aren’t just limited to structured activities; they can come up with their own imaginative creations. Even free play with Play-Doh serves an educational purpose, encouraging abstract thinking and exploration. Finally, Play-Doh promotes cooperative learning. When used with siblings or fellow homeschooling families, it sets the stage for teamwork and discussions, which are vital parts of social and emotional learning.
Play-Doh is more than a child’s toy; it’s a versatile and powerful tool for homeschooling. When you incorporate Play-Doh learning activities into your lessons, you provide children with tactile, hands-on experiences that nurture both intellect and creativity. From teaching math to recreating history, Play-Doh’s potential is limited only by your imagination.Try some of the ideas in this post, and watch as homeschooling transforms into a joyful, engaging adventure for you and your children.


